A lot of people I’ve shown my creations to, or shown photos to, have asked me what they’re made out of.
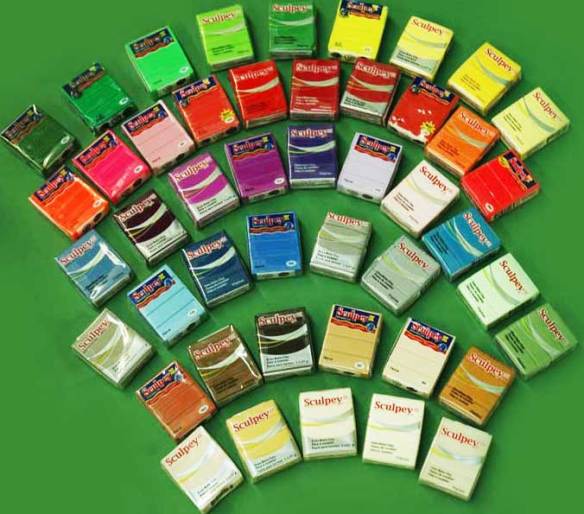
I use oven-bakeable polymer clays, which are available in a number of brands. Everyone who uses polymer clays has their own preference for brand. And my preference is, most emphatically, Sculpey.
I’ve tried one other brand – Fimo – but I found that it got very sticky to work with once conditioned (think too-old Blu-Tack). I’ve also found that mixing two brands together is a Very Bad Idea. For example, mixing a Sculpey orange with a Fimo orange resulted in an object that turned a dull burnt-orangey-brown when baking. Most disappointing!
Sculpey itself comes in a number of clay varieties. So far I’ve used:
Sculpey III, the most common choice. It has over 40 colours available, and of course you can mix and blend to create your own custom colours.
Studio by Sculpey. This line of clays has been discontinued, which is a real shame – the colour range was gorgeous!
The nearest equivalent range now is the Sculpey Premo and Premo Accents ranges. The colours aren’t exactly the same, but you can custom-mix to achieve similar results, with the added bonus of new pearlescent, metallic and translucent ranges available as well.
Super Sculpey, which I’ve used to make doll-faces (such as the “Nun a-wading” doll I made years back). It’s much more rigid to work with than Sculpey III, but just means it lends itself to far greater detailing and texturing. My only real complaint is that it tends to bake quite dark, despite its translucency. I intend to invest in the Sculpey Living Doll range of clays instead, and see how I go using them.
Sculpey Ultra Light, which is my latest investment in the Sculpey product range. This stuff is weird to work with – it feels almost like marshmallow or a soft meringue, without the stickiness. I haven’t experimented with it extensively, but it mixes with Sculpey III and Studio very nicely, and definitely yields a lighter result. According to the Sculpey website, it also retains flexibility after baking, making for much more durable products. One of the recommended techniques I want to try is to form the body of an object out of Ultra Light, and then cover with thin layers of Sculpey III or Premo – oh darn, I’ll have to make more figurines!
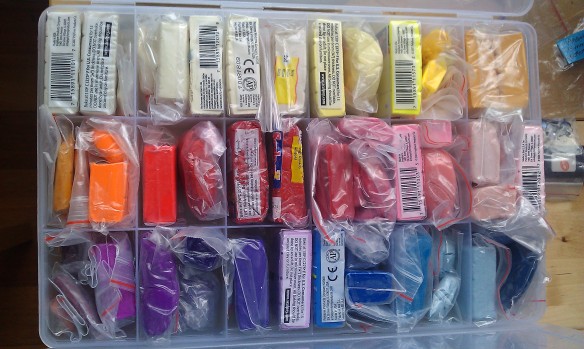
Because of the large number of clay colours (and because every time I custom-mix colours, I always mix too much!), I needed to find a way of keeping the colours sorted, and of keeping them from contaminating each other. The solution? Fishing tackle boxes and money-sized zip-lock bags!
This is actually an old photo – my collection has spread into a third box now courtesy of the Ultra Light!
As you can see, I’m a little OCD when it comes to having everything sorted just right. In my defense, it’s both aesthetically pleasing and MUCH easier to find the colour I want!
Of course, having the right colour clay is just the first step in the creation process. Having the right tools helps too… (why yes, this is a segue into a new post!)


